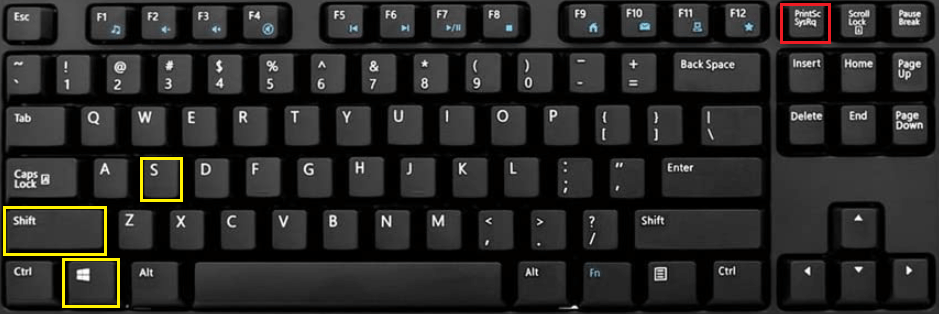
Use of Keyboard shortcuts (PrintScrn SysRq).
Keyboard shortcuts in Windows allow you to take six different kinds of screenshots. The Print Screen (PrtScn) key is used in three of them, whereas the Windows (Win) key is needed in the other three.
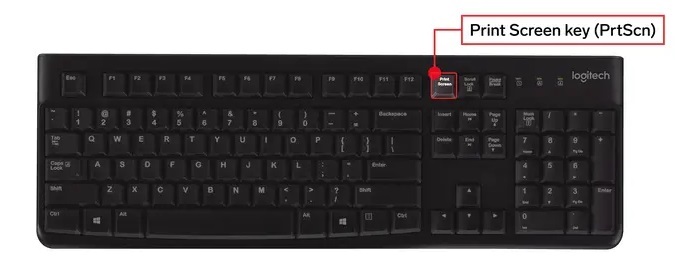
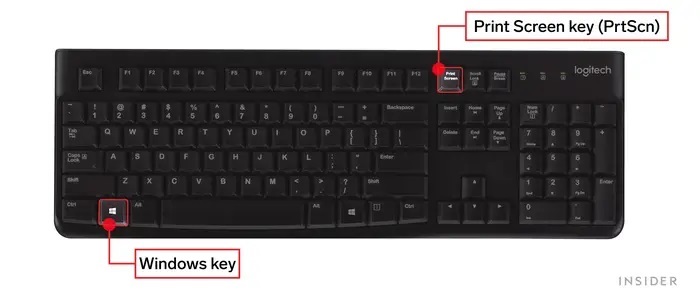
The PrtScn key is often found in the top right hand corner of portable keyboards. The Win key is normally located between Ctrl and Alt on the left side of the keyboard. The Microsoft logo is prominently displayed on it.
All six screenshot commands Methods are as follows:
#1: “Print Screen” (PrintScrn):
This shortcut records the present screen’s contents. If you have many displays connected to your computer, this feature will take a single picture of everything being displayed on all of them. This approach does not create a file on your computer, but rather copies the recorded picture to the Windows clipboard.
#2: Alt + Print Screen:
To capture just the active window, use these keys. When using these keys, make sure the desired window is selected (either a document or website) before doing so. Images captured using this approach are not saved on your computer but are instead copied to the clipboard.
#3: Win + Print Screen:
The whole screen may be saved by pressing Win + Print Screen. The key distinction is that Windows creates a file when saving the picture. Saved screenshots may be found at C:UsersPictures>Screenshots or C:UsersOneDrive>Pictures>Screenshots by default.
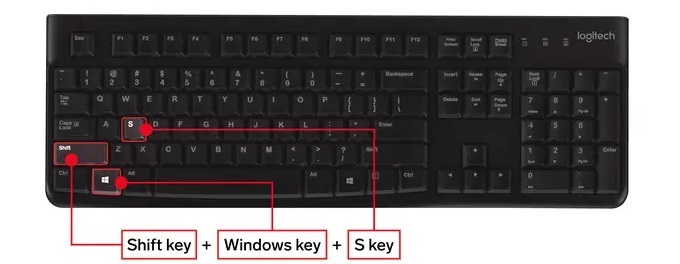
#4: By just pressing Win + Shift + S,
The system’s native screenshot capture utility, Snip & Sketch, will be activated. In this mode, you may choose between a rectangular snip, a freeform snip, a snip of the current window, or a snip of the whole screen; these options are all found on a little toolbar that slides down from the top of the screen. The captured data is not stored as an image but rather copied to the clipboard when using this tool.
#5: Pressing Win + G:
activates the Xbox Game Menu. With a click of the Capture key and the Camera icon, you may use this programe to save a picture to the C: drive. Videos > Username > Captures is the default location for user captured videos.
#6: Pressing Win+Alt+PrintScreen
will just capture the actually active window. With this command, a photo will be stored on the C: drive. The default path for accessing a user’s videos is via the menu items Users > (username) > Videos > Captures.
Sometimes when Windows takes a screenshot, the screen may flash or go dark to indicate that it has done so. Whether this will not really happen, you may check to see if Windows saved your picture by opening File Explorer and navigating to the folder Windows expects to find it in.
Use the Snipping tool:
The Snipping Tool is the top alternative programme available on local devices.
Step.1: Open the snipping tool by typing “snipping tool” into the taskbar search box and then clicking on the resultant application.
Step.2: After you’ve got the Snipping Tool open and running, click the Mode button to see further options. There are four different ways to capture the screen: Draw a window (Free-Form Snip), box in an area (Rectangular Snip), capture the current window (Window Snip), and capture the entire screen (Full-Screen Snip).

Step.3: Please be aware that the screen will become white while using the Free-Form or Rectangular Snip modes. The white tinge disappears from the defined screenshot area as you go. During a Window Snip, the whole screen becomes white save for the selected window and its contents.
Step.4: You can pause the snipping action by using the delay function included in the Snipping Tool. To help you catch the perfect moment in a movie or animation, it has a delay time of one to five seconds.
After you take a screenshot, the Snipping Tool window will enlarge to show it to you.
Step.5: When you’re through making changes with the Snipping Tool, go to File in the top left corner, and choose Save As from the resulting drop-down menu.
Use of Third party Tools and Features:
We have explored the built-in methods and features of Windows 10 for capturing screenshots. It’s undeniable that these resources make our lives easier and better in many ways, but they’re not without their drawbacks as well.
Some users choose to use other programes and resources in order to get around these restrictions.
This section will go through a few of these instruments:
1. SnagIt:
Techsmith sells a product called Snagit. This programme has a stellar reputation and shows great promise as a means of recording high-quality audio and video from your computer screen. It works with several computer operating systems.
In addition to taking screenshots, Snagit can also be used to produce animated GIFs and capture the whole screen. A free 30-day trial is also available, albeit trial images will be watermarked.
At this time, the price is set at $49.95.
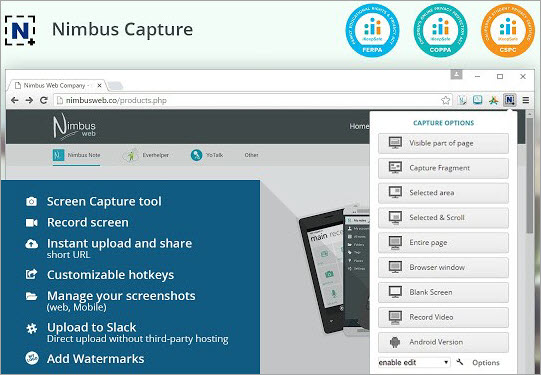
2. Nimbus Capture:
There is a downloadable Windows software for this, and it’s completely free to use. This software allows users to capture a screenshot of the whole screen, a specific region of the screen, or an entire web page. It has some cool editing tools for screenshots, lets you record movies, and lets you add comments to screenshots.
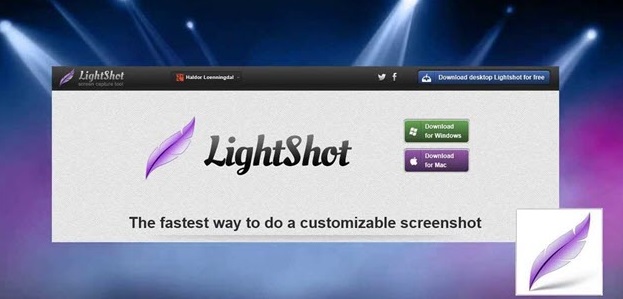
3. LightShot:
Lightshot is an easy-to-use, free screenshot app that’s perfect for social media sharing. Lightshot, an alternative to Windows 10’s Print Screen that has enhanced editing features, may be downloaded and installed by anybody using the operating system. Users only need to sign up for an account.
4. GreenShot:
Another user-friendly programme, this one allows you to record the screen and alter images with a number of simple tools.
Greenshot is an additional free programme that gives you the ability to record the whole visible portion of a website and edit and modify screenshots in any way you choose.